Hitachi ZX145W-6 Wheeled Excavator WLAC50-EN-00 (Preview)
WLAC50-EN-00
INTRODUCTION
SYMBOL AND ABBREVIATION
SAFETY
SECTION AND GROUP CONTENTS
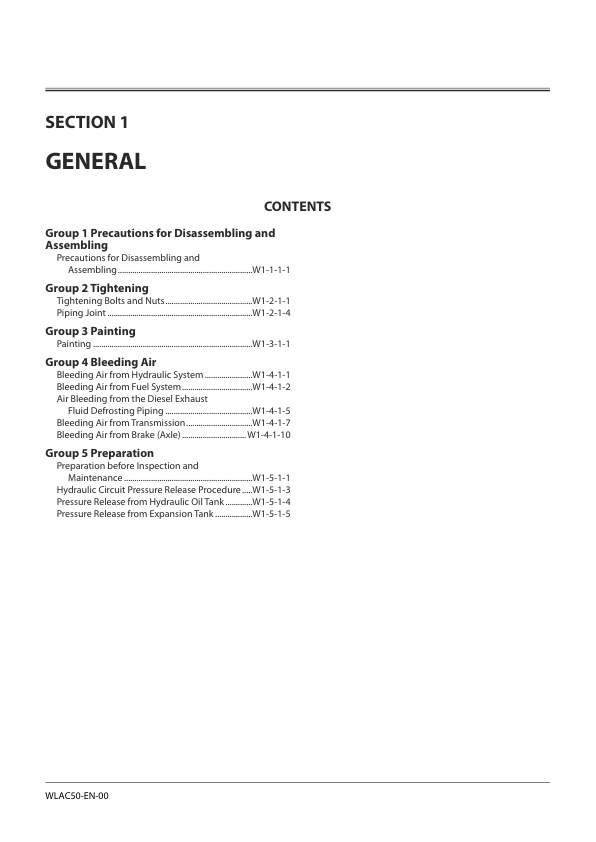
SECTION 1 GENERAL
Group 1 Precautions for Disassembling and Assembling
Precautions for Disassembling and Assembling
Group 2 Tightening
Tightening Bolts and Nuts
Piping Joint
Group 3 Painting
Painting
Group 4 Bleeding Air
Bleeding Air from Hydraulic System
Bleeding Air from Fuel System
Air Bleeding from the Diesel Exhaust Fluid Defrosting Piping
Bleeding Air from Transmission
Bleeding Air from Brake (Axle)
Group 5 Preparation
Preparation before Inspection and Maintenance
Hydraulic Circuit Pressure Release Procedure
Pressure Release from Hydraulic Oil Tank
Pressure Release from Expansion Tank
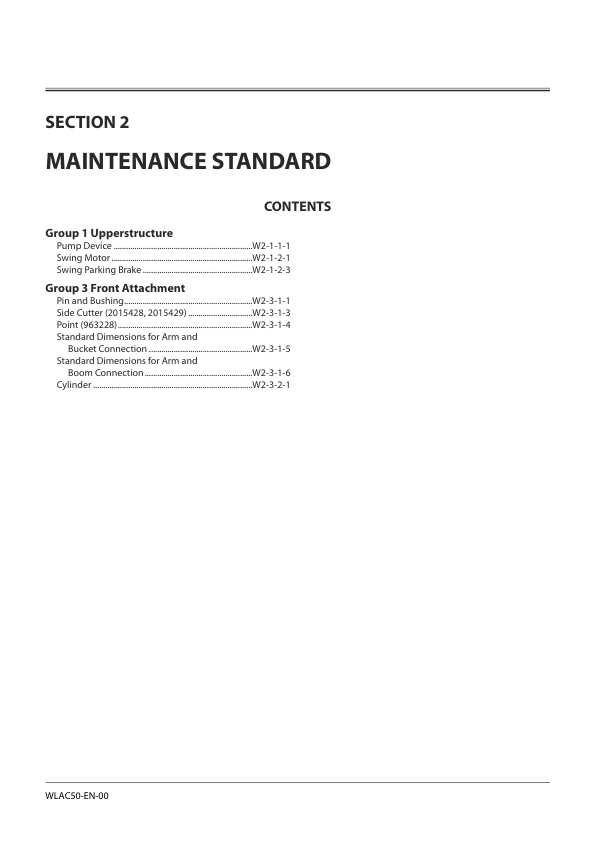
SECTION 2 MAINTENANCE STANDARD
Group 1 Upperstructure
Pump Device
Swing Motor
Swing Parking Brake
Group 3 Front Attachment
Pin and Bushing
Side Cutter (2015428, 2015429)
Point (963228)
Standard Dimensions for Arm and Bucket Connection
Standard Dimensions for Arm and Boom Connection
Cylinder
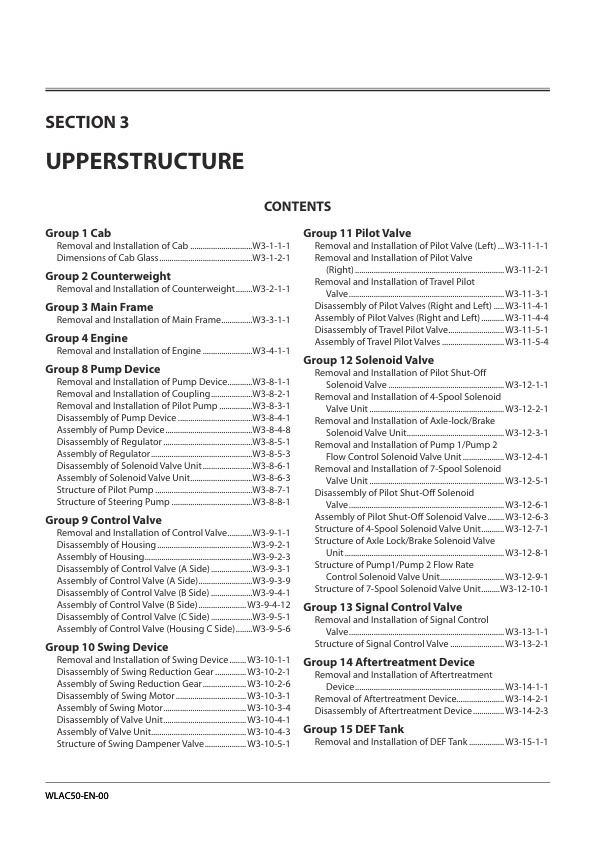
SECTION 3 UPPERSTRUCTURE
Group 1 Cab
Removal and Installation of Cab
Dimensions of Cab Glass
Group 2 Counterweight
Removal and Installation of Counterweight
Group 3 Main Frame
Removal and Installation of Main Frame
Group 4 Engine
Removal and Installation of Engine
Group 8 Pump Device
Removal and Installation of Pump Device
Removal and Installation of Coupling
Removal and Installation of Pilot Pump
Disassembly of Pump Device
Assembly of Pump Device
Disassembly of Regulator
Assembly of Regulator
Disassembly of Solenoid Valve Unit
Assembly of Solenoid Valve Unit
Structure of Pilot Pump
Structure of Steering Pump
Group 9 Control Valve
Removal and Installation of Control Valve
Disassembly of Housing
Assembly of Housing
Disassembly of Control Valve (A Side)
Assembly of Control Valve (A Side)
Disassembly of Control Valve (B Side)
Assembly of Control Valve (B Side)
Disassembly of Control Valve (C Side)
Assembly of Control Valve (Housing C Side)
Group 10 Swing Device
Removal and Installation of Swing Device
Disassembly of Swing Reduction Gear
Assembly of Swing Reduction Gear
Disassembly of Swing Motor
Assembly of Swing Motor
Disassembly of Valve Unit
Assembly of Valve Unit
Structure of Swing Dampener Valve
Group 11 Pilot Valve
Removal and Installation of Pilot Valve (Left)
Removal and Installation of Pilot Valve (Right)
Removal and Installation of Travel Pilot Valve
Disassembly of Pilot Valves (Right and Left)
Assembly of Pilot Valves (Right and Left)
Disassembly of Travel Pilot Valve
Assembly of Travel Pilot Valves
Group 12 Solenoid Valve
Removal and Installation of Pilot Shut-Off Solenoid Valve
Removal and Installation of 4-Spool Solenoid Valve Unit
Removal and Installation of Axle-lock/Brake Solenoid Valve Unit
Removal and Installation of Pump 1/Pump 2 Flow Control Solenoid Valve Unit
Removal and Installation of 7-Spool Solenoid Valve Unit
Disassembly of Pilot Shut-Off Solenoid Valve
Assembly of Pilot Shut-Off Solenoid Valve
Structure of 4-Spool Solenoid Valve Unit
Structure of Axle Lock/Brake Solenoid Valve Unit
Structure of Pump1/Pump 2 Flow Rate Control Solenoid Valve Unit
Structure of 7-Spool Solenoid Valve Unit
Group 13 Signal Control Valve
Removal and Installation of Signal Control Valve
Structure of Signal Control Valve
Group 14 Aftertreatment Device
Removal and Installation of Aftertreatment Device
Removal of Aftertreatment Device
Assembly of Aftertreatment Device
Group 15 DEF Tank
Removal and Installation of DEF Tank
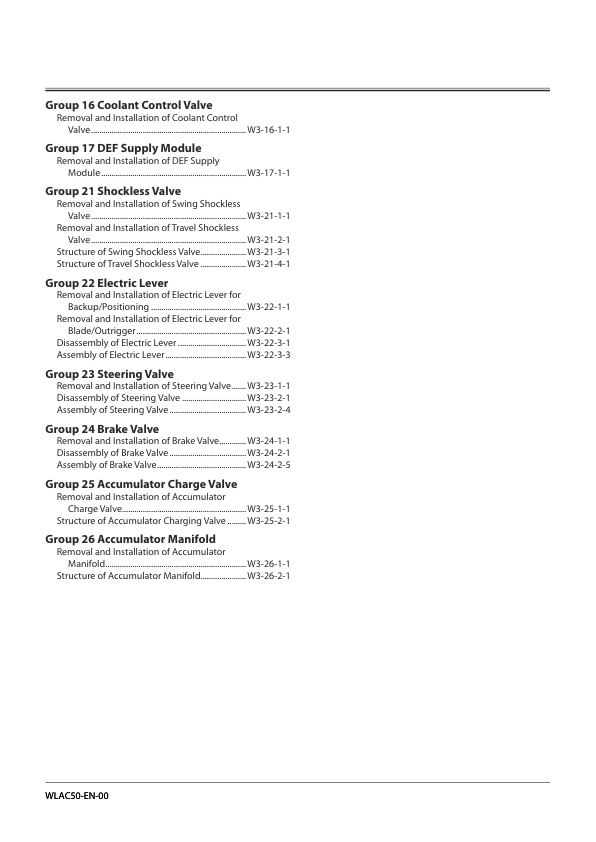
Group 16 Coolant Control Valve
Removal and Installation of Coolant Control Valve
Group 17 DEF Supply Module
Removal and Installation of DEF Supply Module
Group 21 Shockless Valve
Removal and Installation of Swing Shockless Valve
Removal and Installation of Travel Shockless Valve
Structure of Swing Shockless Valve
Structure of Travel Shockless Valve
Group 22 Electric Lever
Removal and Installation of Electric Lever for Backup/Positioning
Removal and Installation of Electric Lever for Blade/Outrigger
Disassembly of Electric Lever
Assembly of Electric Lever
Group 23 Steering Valve
Removal and Installation of Steering Valve
Disassembly of Steering Valve
Assembly of Steering Valve
Group 24 Brake Valve
Removal and Installation of Brake Valve
Disassembly of Brake Valve
Assembly of Brake Valve
Group 25 Accumulator Charge Valve
Removal and Installation of Accumulator Charge Valve
Structure of Accumulator Charging Valve
Group 26 Accumulator Manifold
Removal and Installation of Accumulator Manifold
Structure of Accumulator Manifold
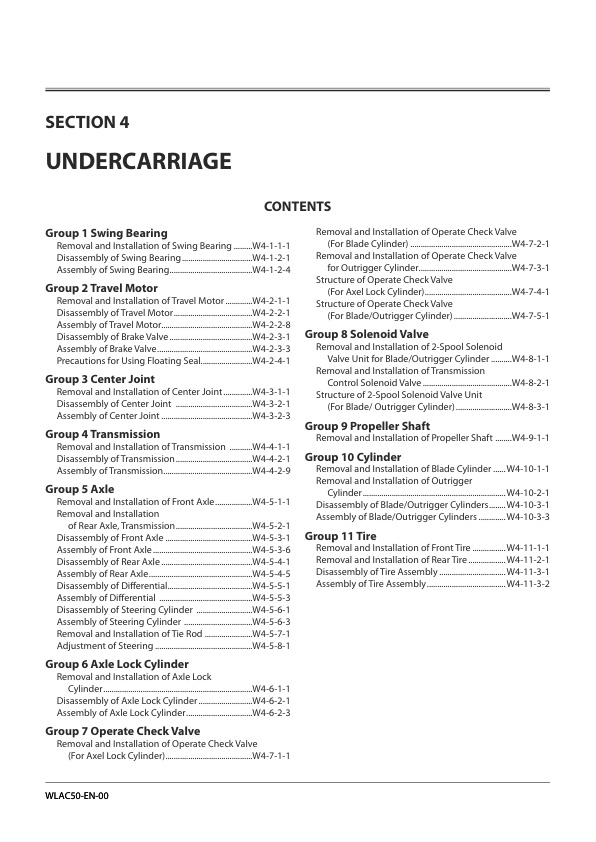
SECTION 4 UNDERCARRIAGE
Group 1 Swing Bearing
Removal and Installation of Swing Bearing
Disassembly of Swing Bearing
Assembly of Swing Bearing
Group 2 Travel Motor
Removal and Installation of Travel Motor
Disassembly of Travel Motor
Assembly of Travel Motor
Disassembly of Brake Valve
Assembly of Brake Valve
Precautions for Using Floating Seal
Group 3 Center Joint
Removal and Installation of Center Joint
Disassembly of Center Joint
Assembly of Center Joint
Group 4 Transmission
Removal and Installation of Transmission
Disassembly of Transmission
Assembly of Transmission
Group 5 Axle
Removal and Installation of Front Axle
Removal and Installation of Rear Axle, Transmission
Disassembly of Front Axle
Assembly of Front Axle
Disassembly of Rear Axle
Assembly of Rear Axle
Disassembly of Differential
Assembly of Differential
Disassembly of Steering Cylinder
Assembly of Steering Cylinder
Removal and Installation of Tie Rod
Adjustment of Steering
Group 6 Axle Lock Cylinder
Removal and Installation of Axle Lock Cylinder
Disassembly of Axle Lock Cylinder
Assembly of Axle Lock Cylinder
Group 7 Operate Check Valve
Removal and Installation of Operate Check Valve (For Axel Lock Cylinder)
Removal and Installation of Operate Check Valve (For Blade Cylinder)
Removal and Installation of Operate Check Valve for Outrigger Cylinder
Structure of Operate Check Valve (For Axel Lock Cylinder)
Structure of Operate Check Valve (For Blade/Outrigger Cylinder)
Group 8 Solenoid Valve
Removal and Installation of 2-Spool Solenoid Valve Unit for Blade/Outrigger Cylinder
Removal and Installation of Transmission Control Solenoid Valve
Structure of 2-Spool Solenoid Valve Unit (For Blade/ Outrigger Cylinder)
Group 9 Propeller Shaft
Removal and Installation of Propeller Shaft
Group 10 Cylinder
Removal and Installation of Blade Cylinder
Removal and Installation of Outrigger Cylinder
Disassembly of Blade/Outrigger Cylinders
Assembly of Blade/Outrigger Cylinders
Group 11 Tire
Removal and Installation of Front Tire
Removal and Installation of Rear Tire
Disassembly of Tire Assembly
Assembly of Tire Assembly
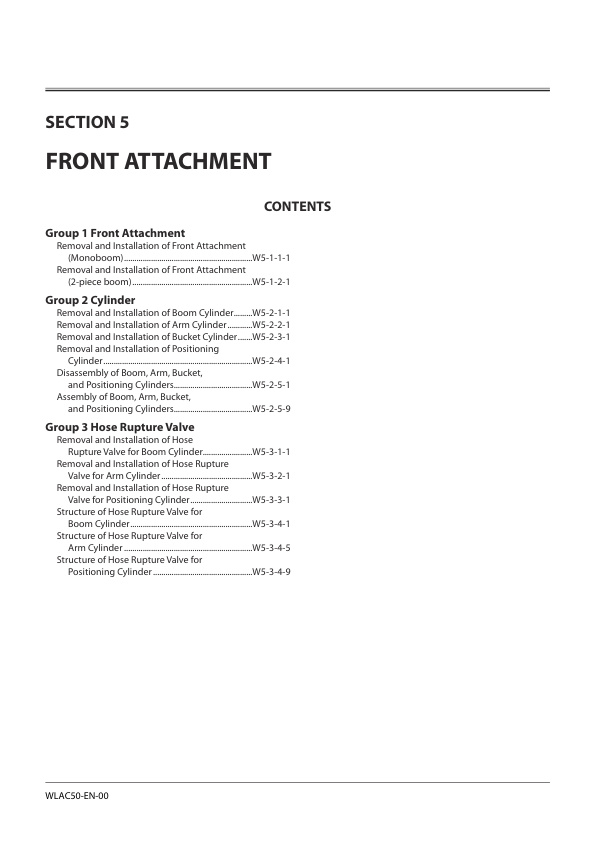
SECTION 5 FRONT ATTACHMENT
Group 1 Front Attachment
Removal and Installation of Front Attachment (Monoboom)
Removal and Installation of Front Attachment (2-piece boom)
Group 2 Cylinder
Removal and Installation of Boom Cylinder
Removal and Installation of Arm Cylinder
Removal and Installation of Bucket Cylinder
Removal and Installation of Positioning Cylinder
Disassembly of Boom, Arm, Bucket,and Positioning Cylinders
Assembly of Boom, Arm, Bucket,and Positioning Cylinders
Group 3 Hose Rupture Valve
Removal and Installation of HoseRupture Valve for Boom Cylinder
Removal and Installation of Hose Rupture Valve for Arm Cylinder
Removal and Installation of Hose Rupture Valve for Positioning Cylinder
Structure of Hose Rupture Valve fo rBoom Cylinder.
Structure of Hose Rupture Valve for Arm Cylinder
Structure of Hose Rupture Valve for Positioning Cylinder
SERVICE MANUAL REVISION REQUEST FORM



Reviews
There are no reviews yet.